Building a Foil board
Disclosure:
I’m not an expert on glassing, shaping, hydro-dynamics, woodworking and so forth. I’m just a engineering student with some intuition with enough motivation to build a foil board myself.
Sadly the above workshop is not mine, but I have great friends with amazing basements!
This post is divided into different sections:
Planing
Let’s get into it!
Things I optimised for initially:
- Ease of building, e.g.
- save cuts by getting the foam in the height of the trackbox
- make the board as big as one sheet of foam to save waste and cuts
- Costs
- Comparing prices and options, there is a variety of manufactures out there.
- Evaluate time and costs, e.g. the leash plug was such a thing where it simply doesn’t make sense to build it DIY. I could easily 3D print it, but it’s not tested and might not provide the same stability.
- Save waste
- Only get the needed material and be thoughtful about the materials used
During the process I had to adapt to different circumstances, which made the process more complicated, involved more waste and made it more expensive. Since this is my first time planing a board and I’m still learning. I’m just sharing my thoughts so somebody else might perfect this process.
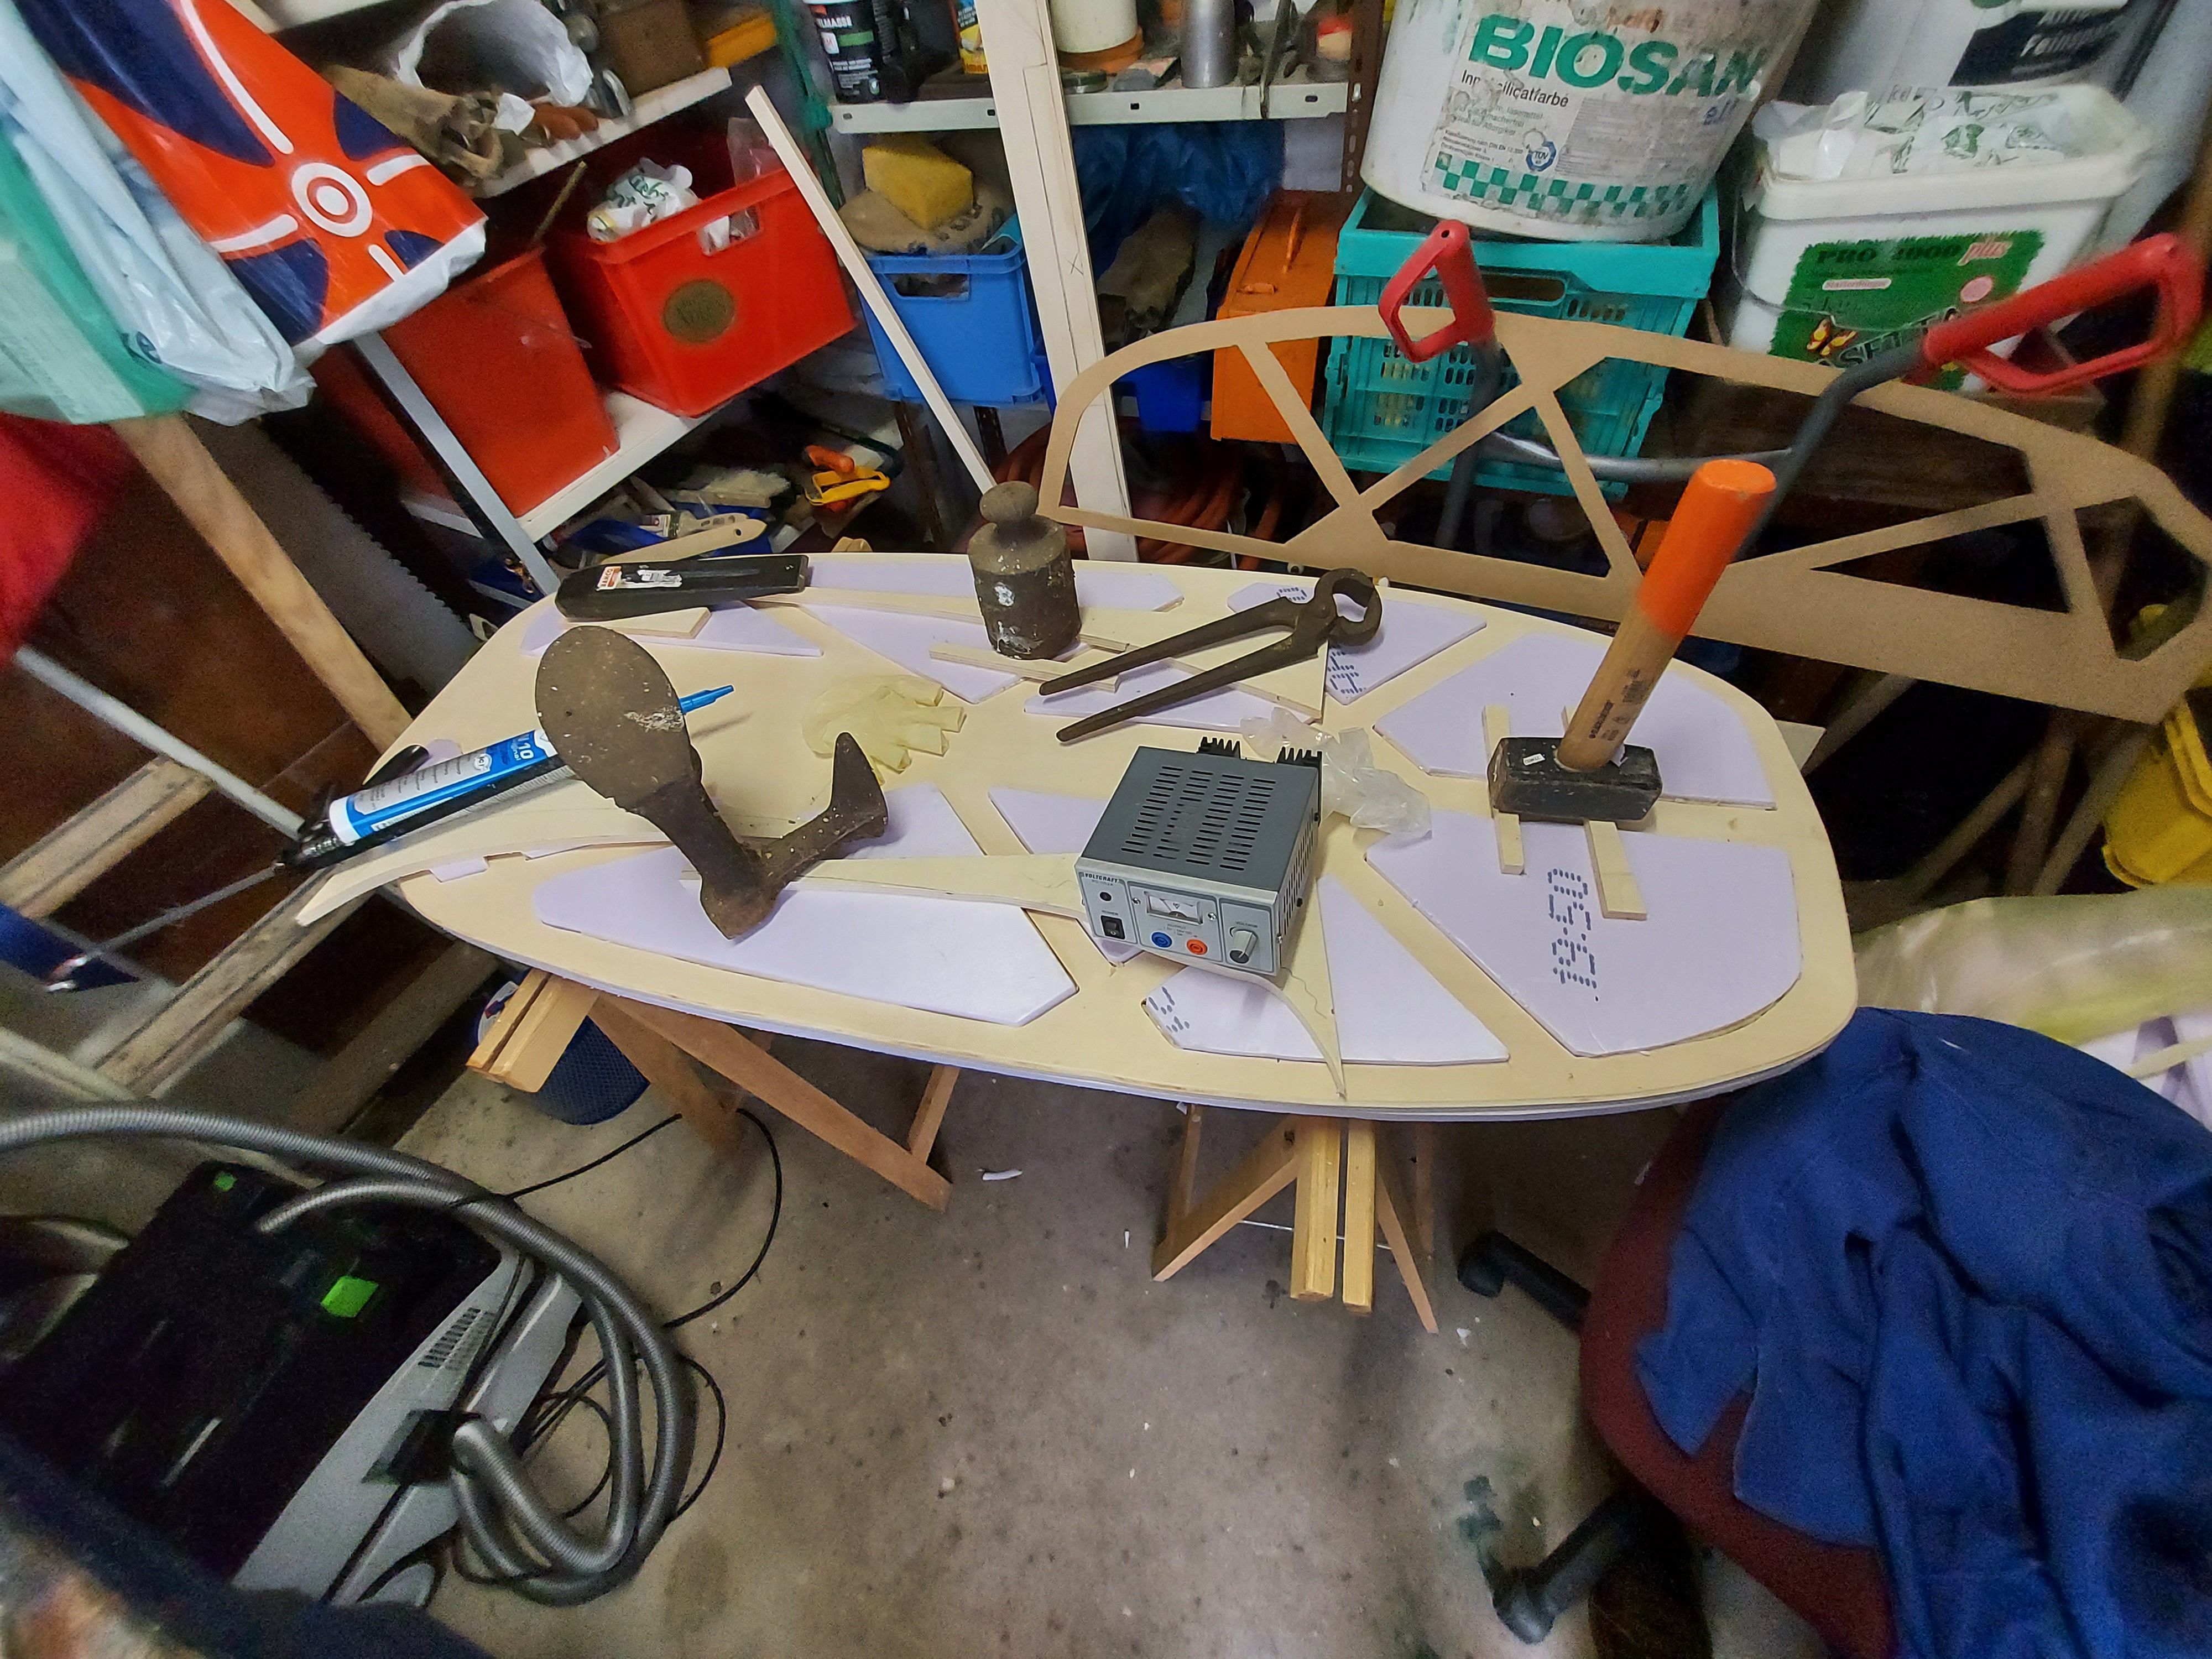
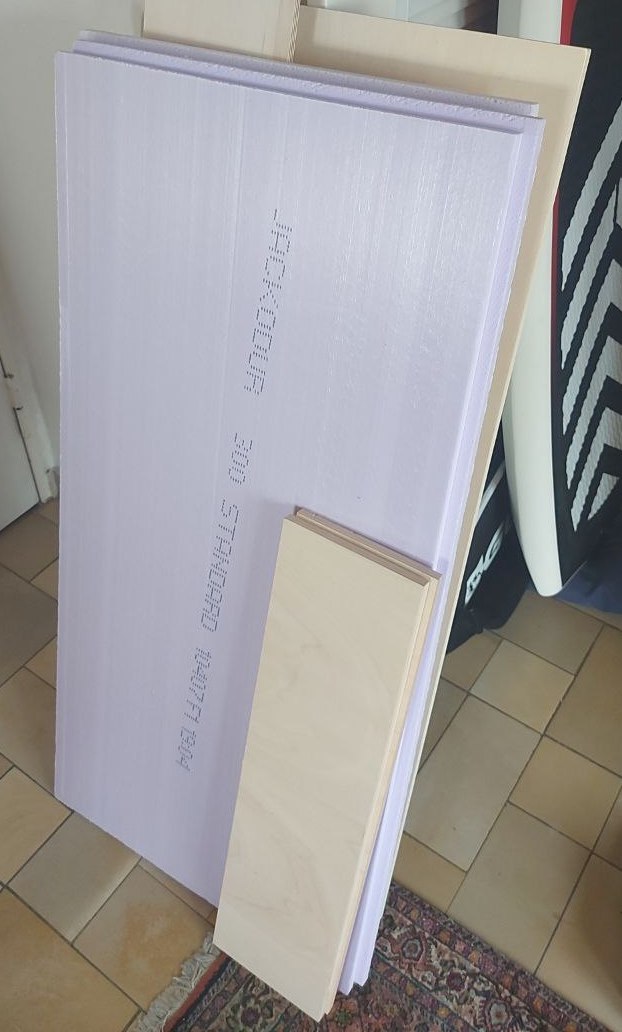
I started by thinking of a shape that maximises the surface area of a single sheet of foam and the wood plate I got (Picture). At my local hardware store there is always a section of left overs that are half the price, so I got a all plates for about 15€.


Other than that, a local surf shop owner advised me to copy the profile of the board from a existing board 1. Long flat surfaces underneath the board lead to an increased suction to the water surface. I looked at different shaped and stringers online and went for the following shape. The cut out in the back houses the foil track box. The tail has a round shape, like many 2022 boards.

In the beginning I also thought about adding some sheer 2 to the deck of the board. At some point decided that the effort is not worth the potential outcome. Here is the technical drawing for the stringer: link.
TODO
- Stenciles
- Feedback from other people
Wood
I added a solid wooden structure to deflect the forces of the foil through the board. Thus the board is very ridged, but a bit heavier. For my first board I wanted to make sure it would not break. I used papule wood, which is lighter compared to other types.


The following picture shows the complete which later will be in the foam.
Shaping
“The best shaper is a sander” - some guy on Youtube, doesn’t really matter. For the shaping I started by glueing the plates together and adding a champer to the sides. After that I tried to create the nose and back curvature.


I improved tools and methods but in the end, some shape emerged. I used another sea-map-stencil for ensuring of the symmetry and adding some more


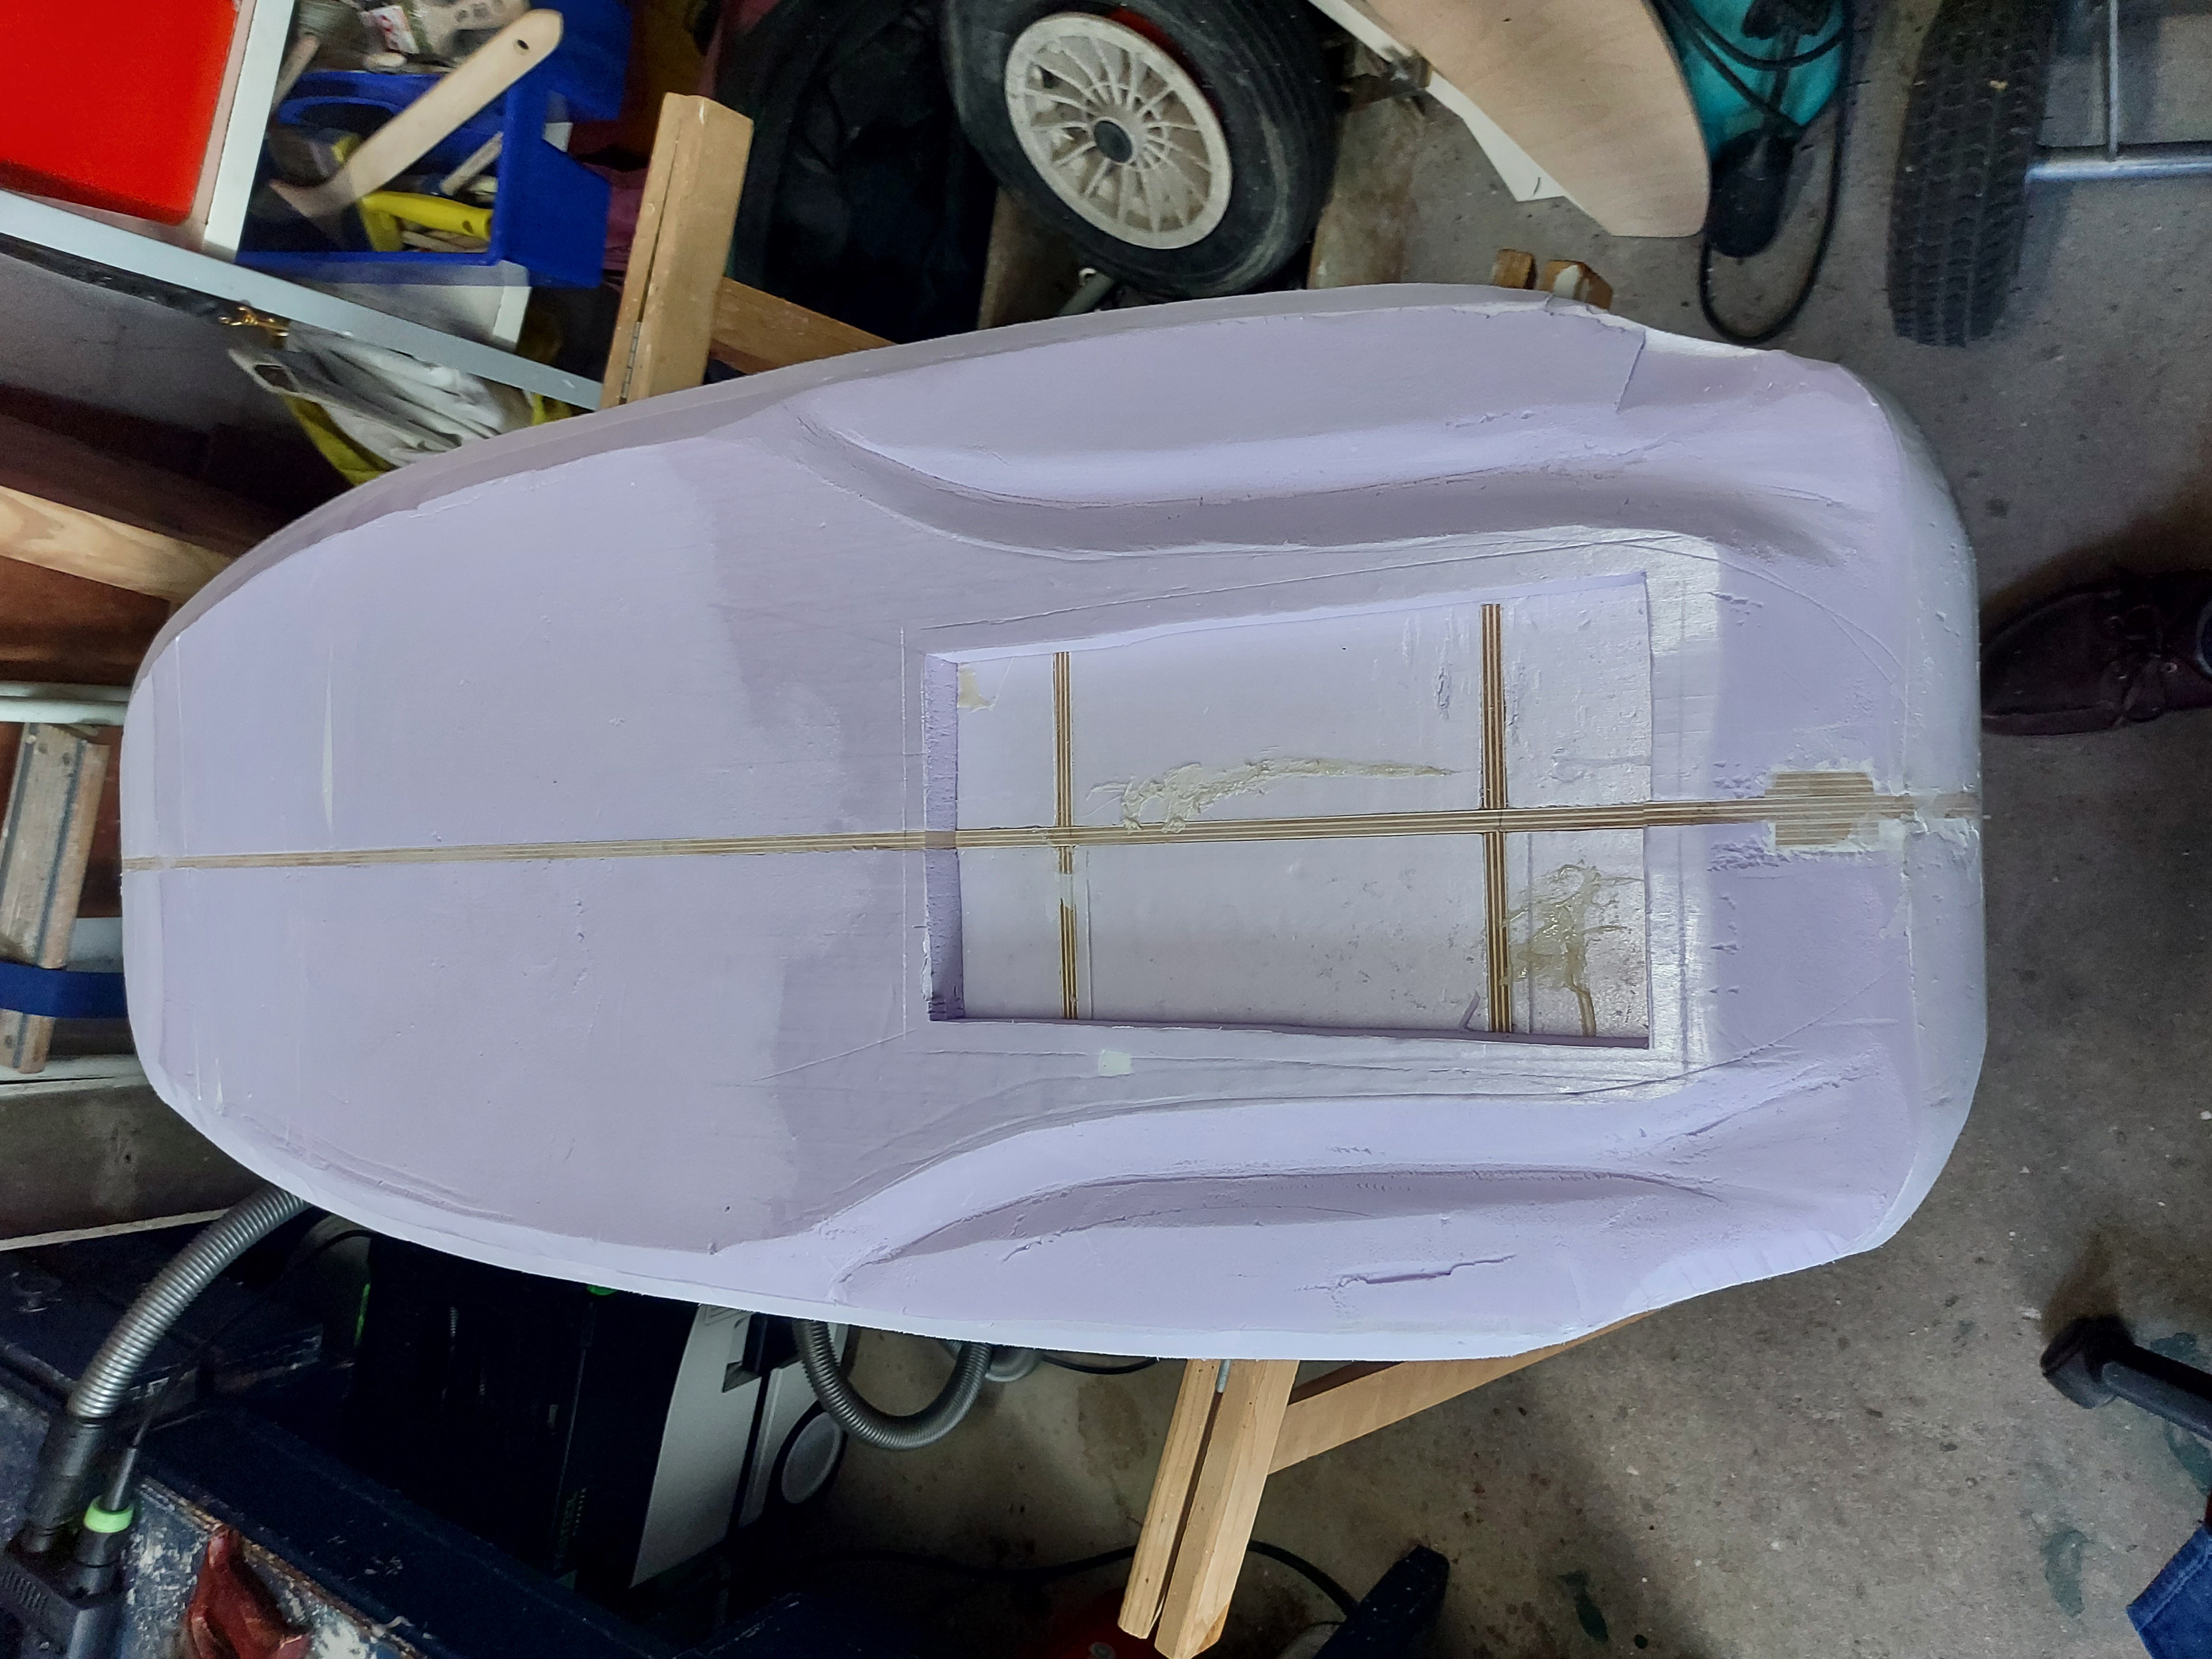
The foam around the track box was mostly flat, thus I removed some more material and carved the following shape.
TODO
- Add best practices
- Sanding
- filler
Saving weight
Due to the extremely high weight of the board I had some doubts to continue. But I came up with a solution to the problem, that involved my friends router again. I prepared a another stencil to cut out some of the internal area and only leave a structure. We cut out the stencil in NDF and used a copy-ring to mill out the desired shape. This worked flawlessly.


Of course, the empty spots need to be filled with foam again, but this was fast and easy.
This step was very kind of unnecessary, since it was a problem, that is self made during earlier planning. I would recommend everyone who want’s to build their own board, to use a very thin or no deck plate at all. Alternatively, only the relevant spots can be reinforced by wood, but I think it should work without as well.
However, I think the board looks awesome like this and I really hope to incorporate this in to the final design later!
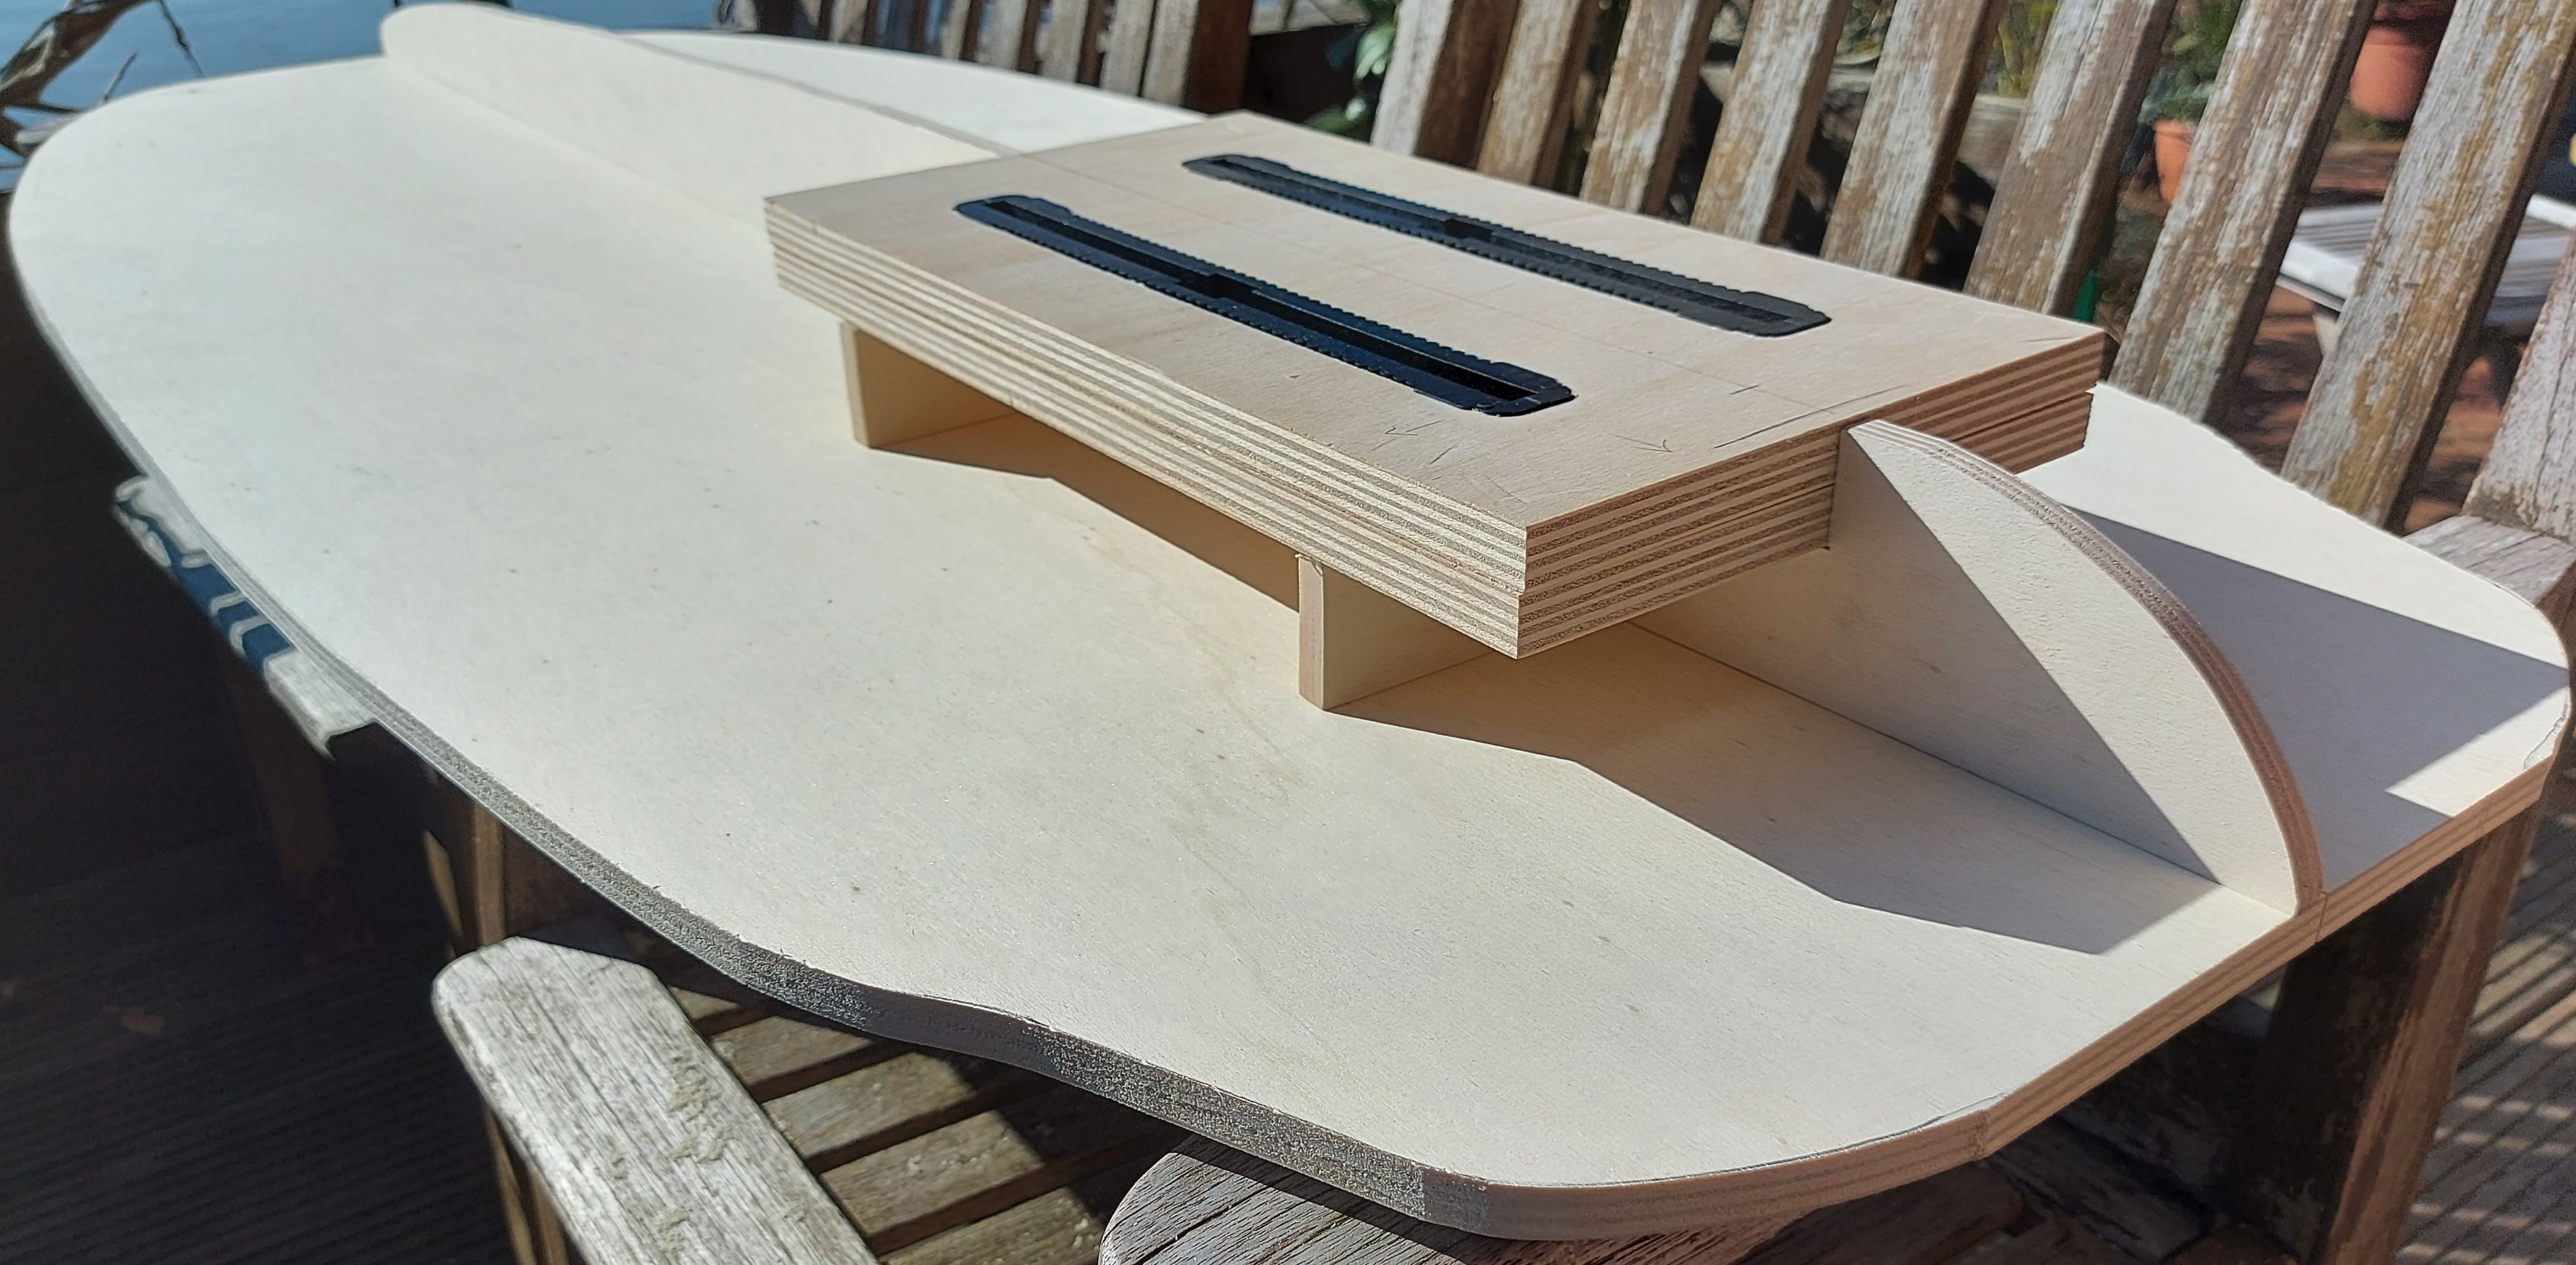
Track-box
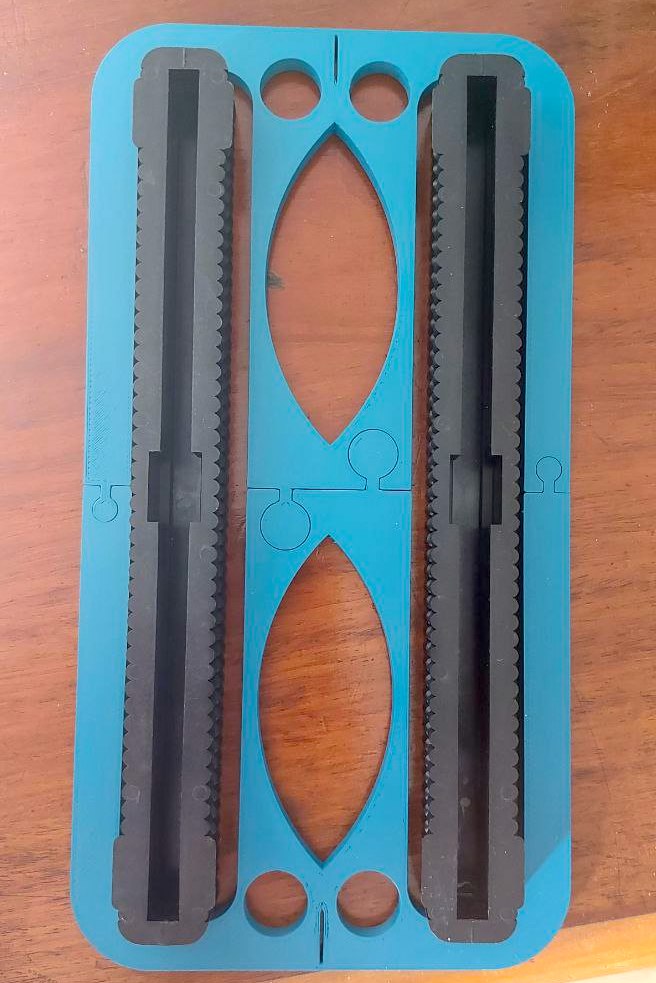
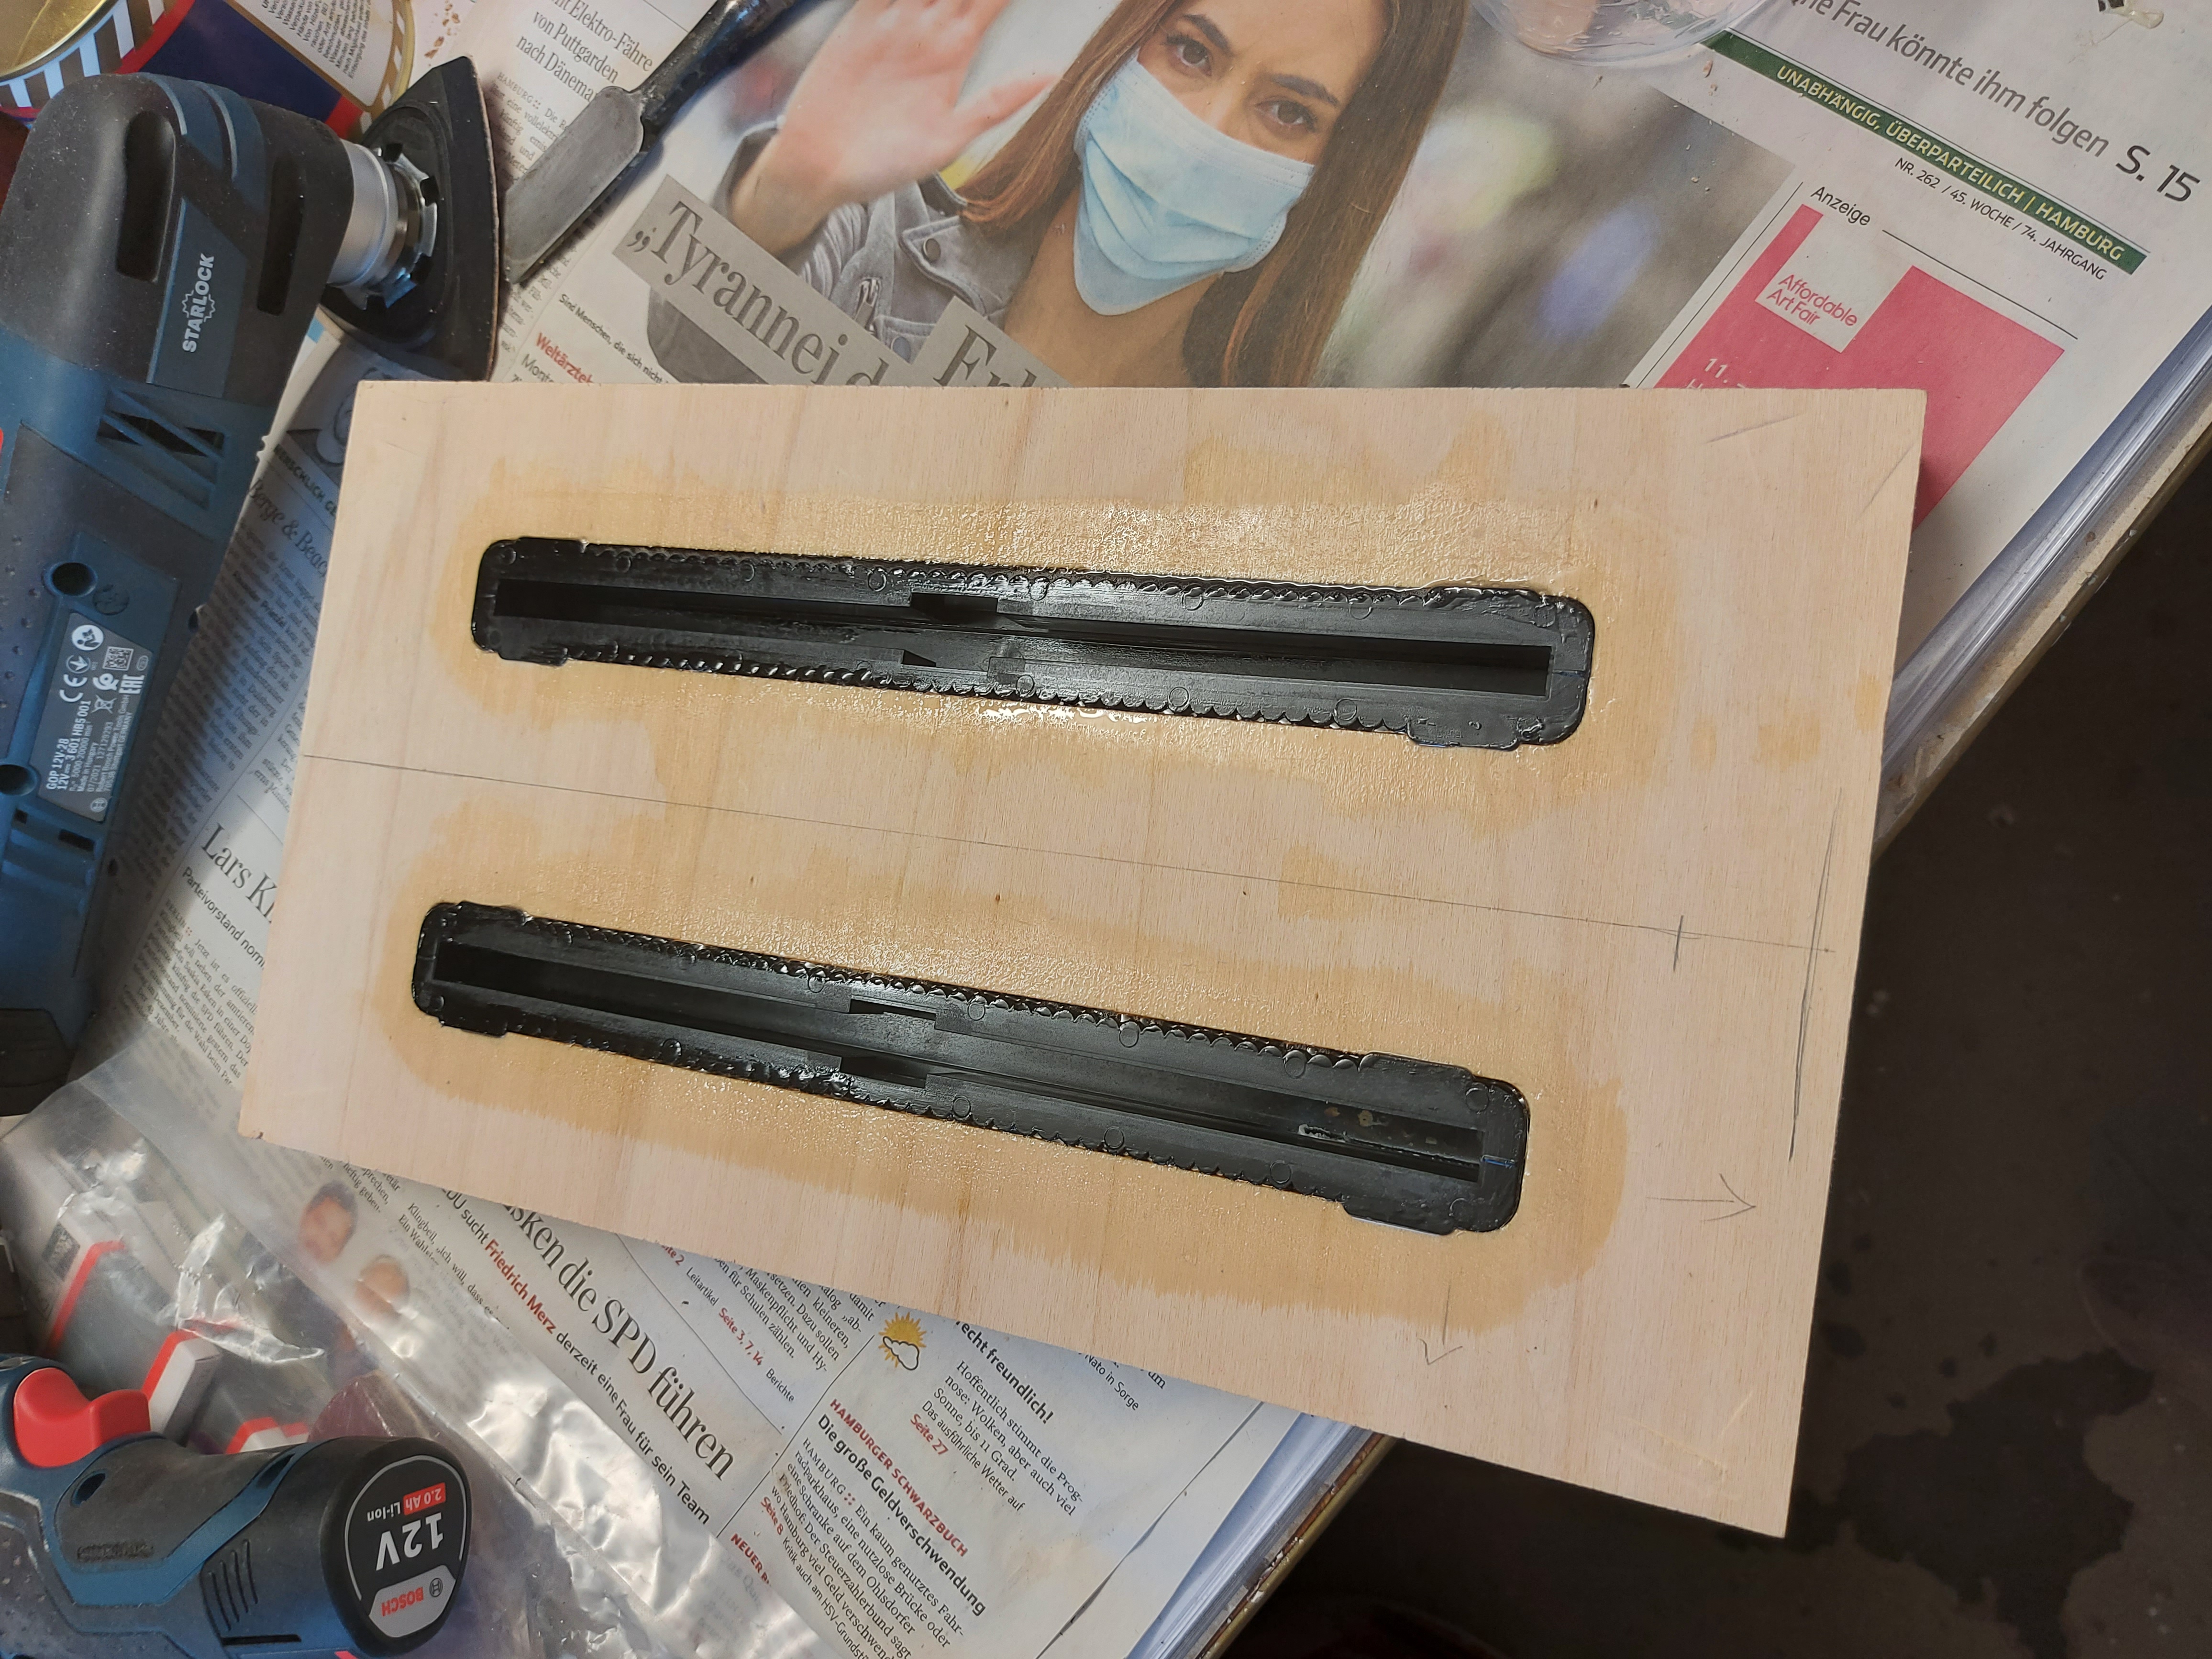
The Track box is made out of two 15mm papule wood. I designed and printed a stencil so I could go to a friend with a router and cut out the precise shape. The US finbox tracks I ordered on amazon. Here is another picture of the printed stencil.


The outer dimensions ended up a bit weird (195mm x 368 mm x 15mm), but the foil fits perfectly! Next step was to glue them in with epoxy, which is really straight forward. Make sure to do it in multiple turns, to the epoxy really sinks into those creeks. Here is a shot in between: picture.


Glassing
tbd…
Finishing